 Whole Wheat Currant Bread
and we have a winner…..Nick Malgieri has done it again. Whole Wheat Currant Bread will get you to that finish line.
The book I am baking from is The Modern Baker and one quick bread after another is a jewel on it’s own. Each and everyone I have baked so far has been enjoyed and devoured. Just the quick bread section was worth the price of the book to me.
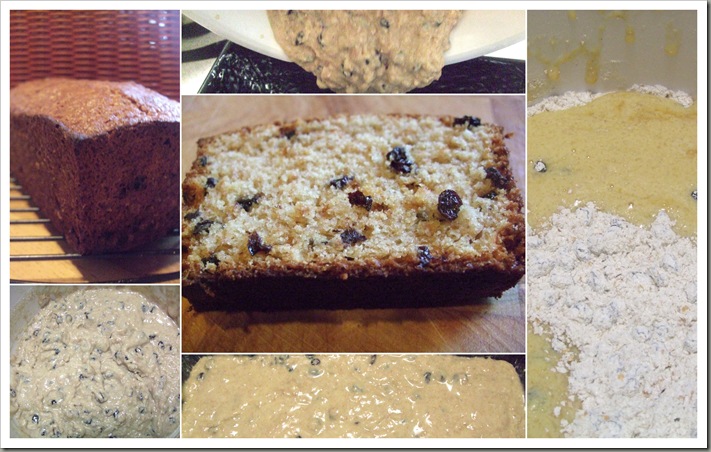
This bread has great ingredients and one that caught my attention right away was the use of whole wheat. I love whole wheat and use it a lot but I would have thought that in a quick bread the baked good would turn out rather dense. Not in this case. Not one bit dense. This is great bread.
I used only half of the currants since that’s all I had but it was plenty enough. Great bread, great taste, a winner in my book.
 Now get that apron, get out those measuring cups and lets bake some Whole wheat currant bread!
You got the book right? This is one recipe I could not find online so I don’t have a recipe to direct you too. This is so good that if you have been waiting for the right time to get that book now is that time.
Until we bake again….see ‘ya!
If you have a moment why not check out what the other bakers are doing over at The Modern Baker Challenge.
PS: I think the whey leftover from making the Lemon-bag-cheese would be a great addition in these quick breads instead of the buttermilk. I will give that a try after we are settled into our new home
 Lemon Bag cheese stuffed Ravioli
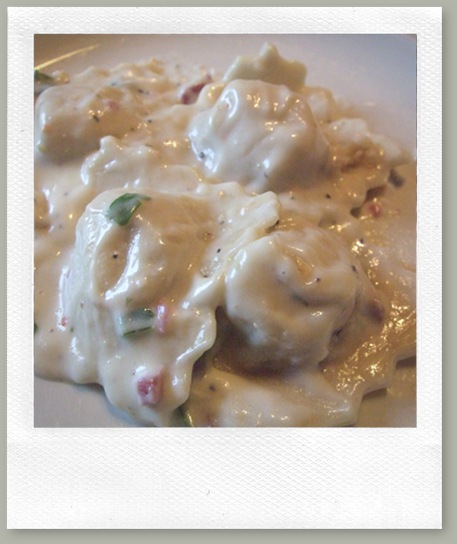
I must say I am so very pleased with how they turned out and my husband proclaimed them the best cheese Ravioli he has ever had. Success!
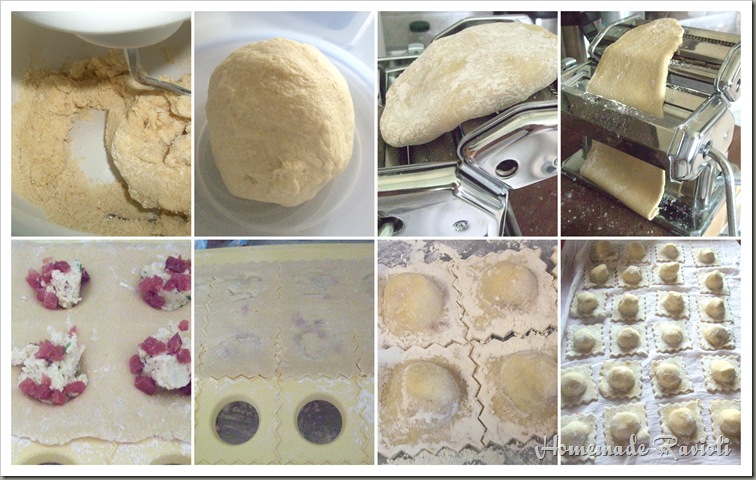 This was my first time making Ravioli with this little tool (Big Snack Combo from Tupperware). Actually my first time making Ravioli ever. I have made Maultaschen (a “Schwabian” type of Ravioli) before especially when we live away from Germany but not Ravioli with a cheese filling.
 It’s rather easy I found especially with the aid of a Pasta machine. I make the dough than let the dough rest for a while (20-30 min.). To roll out the dough I start with Setting one on the pasta machine and work my way up to 4. I stopped at 4 for these Ravioli and it turned out perfect.
Next I floured my mold and covered it with pasta dough. My machine is not wide enough to cover the whole mold (12 Ravioli) so I made them in batches of 8 each.
I used the same filling from the dumplings I had yesterday. Still had enough left over to make 24 Raviolis and 8 not so pretty ones (forgot to cover the mold with flour). Just enough for dinner for the 3 of us and some lunch with the not so pretty ones.
I added some bit’s of “Katenschinken” (smoked cottage ham), covered this with another sheet of pasta dough.
The ravioli form I use has a wavy line around the “to be” ravioli that is raised. So all you have to do now is roll over the form with a rolling pin, turn the form around and the finished ravioli will drop into the container you place underneath.
Voila, that’s it. What I do when making pasta is this. I cover the pasta with flour to prevent from sticking. I then place them on a tea towel and cover them with another. Now I let them dry for a little. I found that homemade noodles cook up better (better bite) if they have the chance to dry for a while. You certainly can cook them right away though.
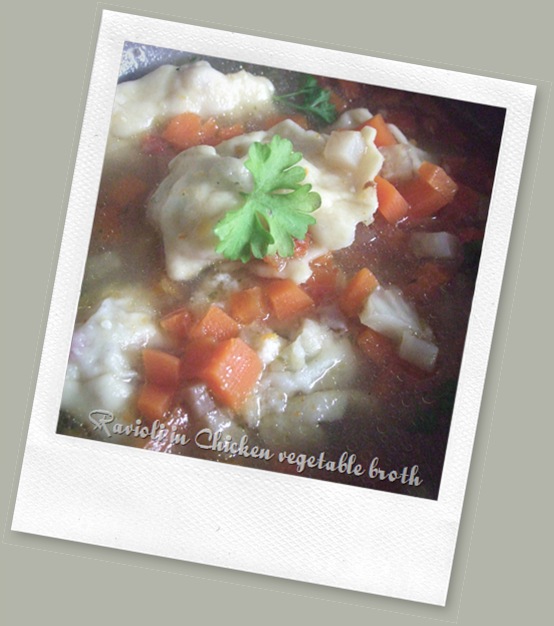
For lunch I used some homemade chicken broth (this one was from a half cooked chicken which will be dinner today in some enchiladas) with some of my homemade vegetable seasoning, diced carrots and celeriac and some of the first batch of Ravioli that did not turn out quite so pretty (did not flour the mold and that was a mistake) but tasty nevertheless. That was all I needed. It was that good.
Recipe:
Pasta Dough
makes 32 Raviolis (3-4 people depending on what else you serve)
200g Flour (AP)
50g Semolina (Durum) flour
2 eggs
a little salt
enough cold water (1-2T) to make a stiff pasta dough
Mix flour, semolina, salt and eggs and add only enough water (depending on the size of your eggs and the flour you use you might need none or very little) to create a stiff dough. Let rest for 20-30 minutes.
Filling
Ricotta or Lemon cheese bag filling from yesterday
Some smoked cottage ham or cooked bacon bit’s
Sauce
(makes enough for 24 Ravioli)
200 ml cream
cornstarch or flour to thicken
chicken broth
seasoning
More smoked cottage ham or cooked bacon bits
Ramsons (bear leek)
Heat cream add some chicken broth (1/2c or more depending on how much sauce you need, the broth with also aid in the flavor of the sauce so don’t skip this), season with homemade vegetable seasoning or your own seasonings (cubes, salt, pepper etc.). Thicken with cornstarch or flour. Add some Ramsons to your sauce just before serving.
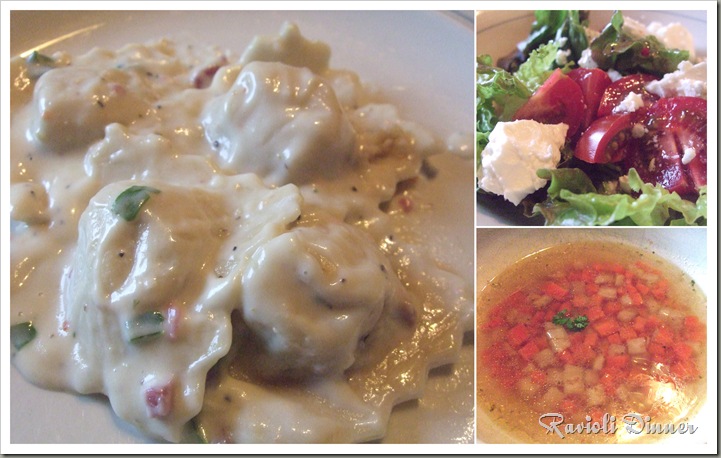
I served these Ravioli with a Chicken vegetable broth and a salad w/feta. 4 Ravioli where enough for me. My husband and son ate 8 each.
PS: If you live in Germany and really don’t want to make your own Pasta dough you can find dough in some Bakeries or your local grocery store. This might be the case in other countries too.
 Lemon Bag cheese Dumplings in Broth
I turned them into dumplings and had them for lunch in a broth.
Let’s get to the broth first.
When you roast or cook chicken don’t ever throw away the carcass, bones, neck or insides of that chicken. You can make some fantastic broth out of it. You don’t have to do it right away either. You can freeze all those bit's and pieces and cook one when it’s convenient for you.
I have been telling you that I am cleaning out my freezer so today I got out the remaining bags of those chicken bit's and pieces and made some broth. Here is how I do it.
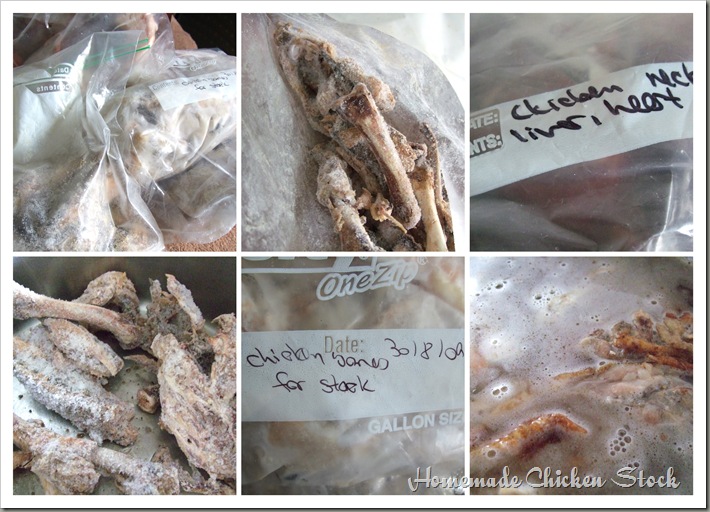 In this picture you see three different bags. One has a chicken carcass (leftover from a roasted chicken), one has different chicken bones from former meals and the other had the neck and innards from another chicken in it. I dump it all into a big pot and fill it with water. Bring it to a boil, lower the heat and simmer for hours and hours (Great project for a crock pot over night). Depending on what I want to use the broth for I often add all sorts of veggies to it right away too (leeks, celeriac, carrots, leeks etc.). That’s it, see how easy it is to make a great chicken stock?
Now we have the broth for our soup, it needs some flavoring. What I like to use is homemade vegetable seasoning. Here is how I do it.
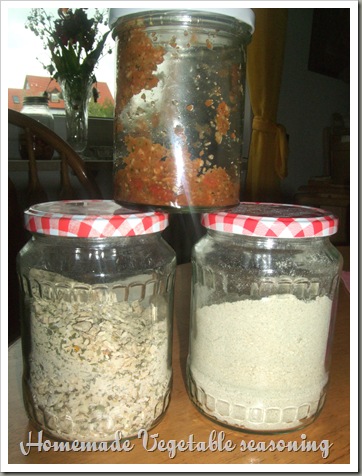
In the fall when root vegetables are dirt cheap I get tons of celeriac, leeks, parsley root (sort of like parsnips) and carrots. I usually have parsley and other herbs like lovage in my garden. Sometimes I add tomato powder or dried tomatoes. I wash and dry all those veggies than put them in my kitchen machine to make them real small. The smaller the pieces the better.
Now I mix salt under (this will help preserve it) in a ration of 4:1 (4 parts vegetables to 1 part salt/ 1000g vegetable to 250g salt). Fill it into glasses and store one jar in the fridge and the others in the freezer. This will last a long time if you don’t use it up even faster.
I make other mixes in powder form where I weigh out my veggies (so I know how much salt to add later), clean, dry and dehydrate them. After they are dehydrated I mix them with salt and pulse them in kitchen machine for a courser powder and in the Vitamix for a very fine powder. Those are the only seasonings I use in my stocks. No need to buy beef/chicken/vegetable cubes or there like. You can combine the vegetables in a way you like them.
Not to long ago I had a recipe from “The Kitch’n” on my feed for homemade bouillon. From there I took the tip to add cilantro and fennel to my fridge mix. Wow, I got to tell you, I was hesitant about the fennel in this but boy is this good. I make it with fennel and cilantro all the time now (only the fridge version). Why not give it a try yourself.
The broth is all done now. How about the cheese you ask? We are getting there.
A few days ago I saw this recipe at “Proud Italian Cook”. Perfect for Michelle’s cheese I thought.
And perfect it was. Very light dumplings and very tasty.
I used the last of the Pecorino cheese I had leftover from this recipe. I had exactly 3.5 oz left over and with the 1/2 lb of cheese I had made that was just what I needed.
Very good and a very satisfying lunch. Life is good!
I have another idea in my head on what to do with this cheese and I will get to you with that tomorrow.
Hint: How does Ravioli sound?
 Lemon Bag Cheese ala “Big Black Dog”
Michelle’s post was the motivator I needed. I present to you …..
Homemade cheese!
I made half a recipe (3c milk and 1c heavy cream) and it produced just a little over 1/2 lb of cheese.
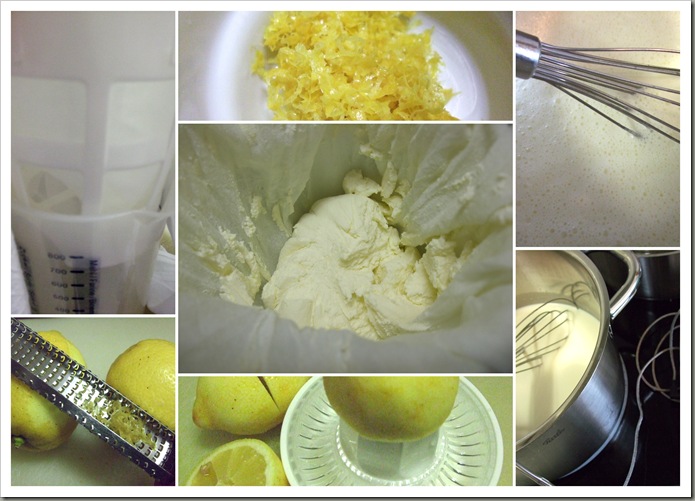 A couple things you want to keep in mind. Never, ever leave a lemon “un-zested”.
 How often do you wished you had some lemon zest? I always zest my lemons and what I don’t use right away I freeze in the small snack bags which I put into a freezer bag. All I have to do when I need zest and don’t have lemons is take out one of those snack bags with zest.
I always use “Bio” (organic) lemons. You want to make sure they are organic especially if you are planning on using the zest (and why would you not?).
The Zest in this picture ended up in today’s plum jam. That freezer is getting empty, yippee, I might pull this off. Two more bags of plums remain and they will be turned into cake for the movers.
Making this type of cheese is simple to make. All you do is heat up the milk to 100F than you add your lemon juice, stir and let it sit for a while. After that you strain it in a tea towel or something like that. After a while you have cheese and whey.
This whey I ended up tossing (It nearly broke my heart, all that nutritious whey down the drain). Only because I still have to much buttermilk in the house and less than 2 week before the movers come.
In the future if I make this cheese I will use the whey like I would buttermilk. I think that should work, don’t you?
to see what I turned this cheese into come back tomorrow
…Hint, Ricotta dumplings soup with homemade chicken broth anyone?
 Pecorino & Pepper Biscuits
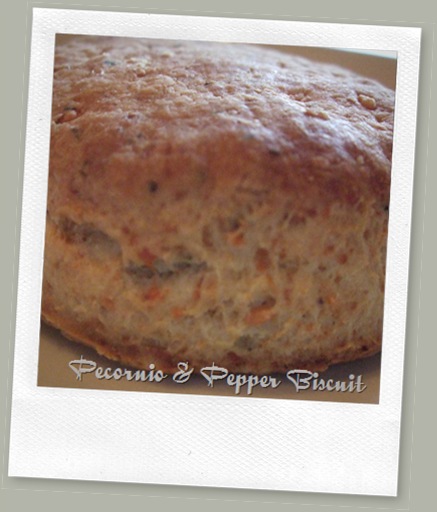
Pecorino Romano is a major player in this biscuit so I had to read up on it a little bit.
Apparently Pecorino Romano is one of four hard cheeses made in Italy from of ewe’s milk. This explains why it’s called Pecorino. The word pecora means sheep in Italian.
The Romano variety this recipe asks for is not appreciated in it’s place of origin. It’s considered to salty.
Ahm, I guess that is why they are exporting it to all of us.
No matter salty or not in these biscuits that cheese works just fine though I think I will add some more next time around.
Cracked pepper is another major player. I always have it in the house because it’s my pepper of choice. Just love cracked black pepper.
This is another The Modern Baker recipe and like all the other quick breads comes together just that, quickly.
I used my kitchen machine to shred up that cheese. That too was quick and easy.

This dough was much wetter than the cornbread. I needed some flour on my hands and on the board to get it together.
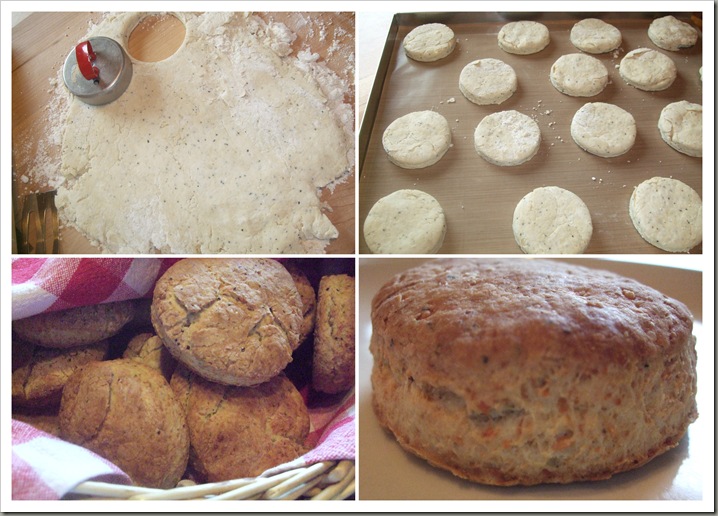 The trick here was to avoid the temptation to twist the cutter. You will need a straight down cut. No twisting or turning.
 Be careful not to over bake the biscuits. Mine where in there a few minutes to long. Still good but a tad dry. I will reduce my baking time to about 15 minutes next time and see from there.
Since I will bake through the entire book eventually with “The Modern Baker” group it’s a given that I will not post the recipe on my blog unless I see it on the net in which case I will link to that post.
See you next time.
 Whole Grain Garlic knots – HBin5
HBin5 Whole Grain Garlic knots
May 15th Bread Braid
1 full Master Recipe
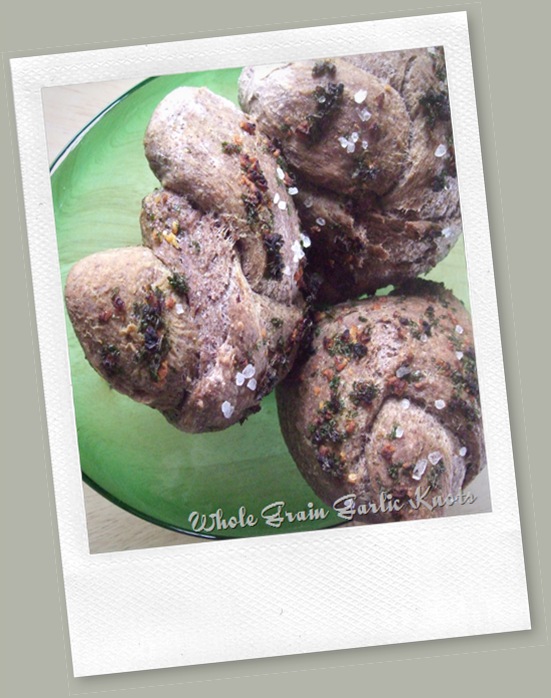
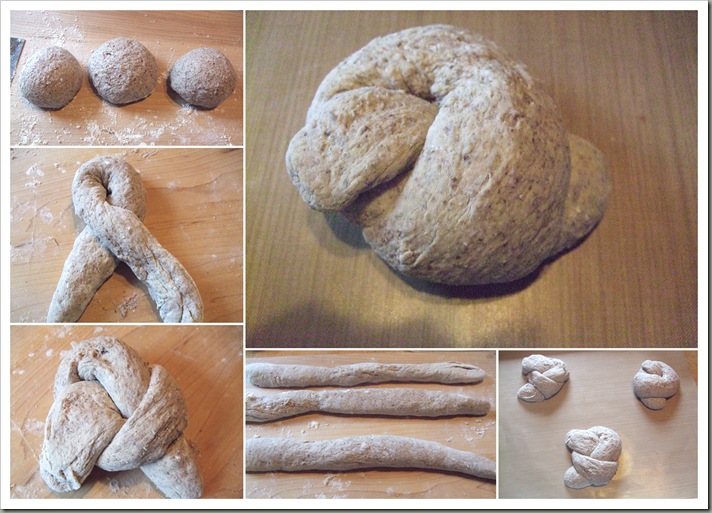 This part reminds me of my childhood more to the point the good old ‘play dough” times. In other words this is the time you get to play with the dough that will become your food.
 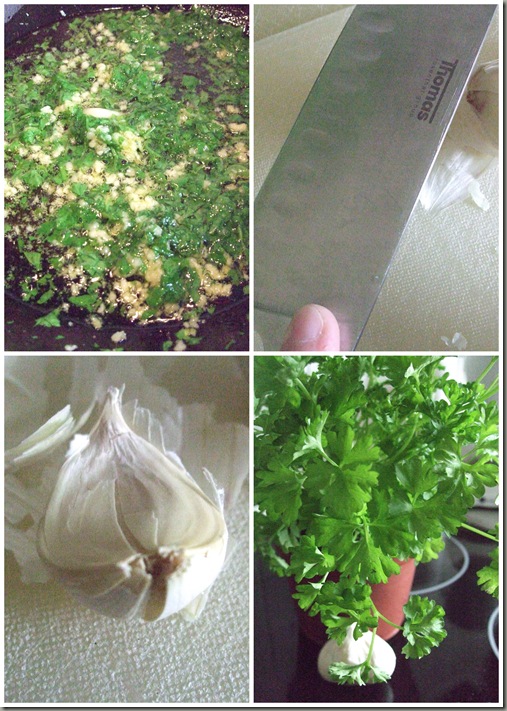 This is what gives the knot it’s name, garlic.
 A quick trick to easily peel garlic is to press down onto the knife with your fist/palm. The garlic will split and you can easily remove it’s skin.
Next time I make this bread I will go a bit of a different route.
This bread was great but I did not like the coloring or look after the baking. The Parsley did not stand up to the intense heat. Next time I would make an infusion of the oil and parsley than add the garlic.
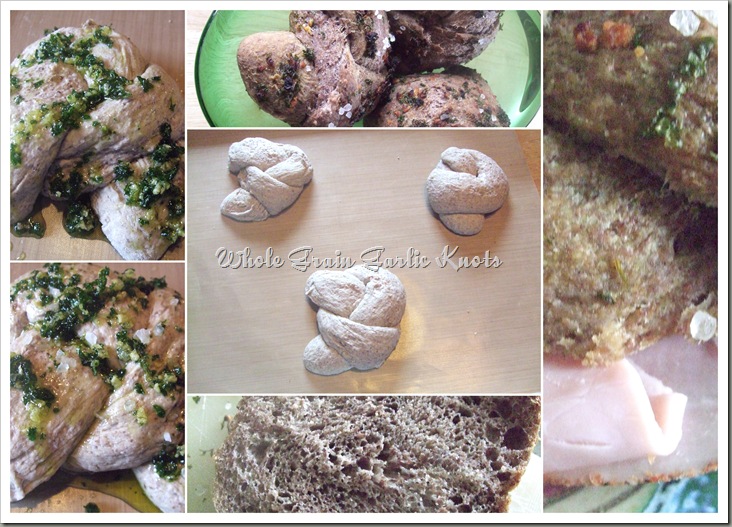
This post will be linked to Michelle’s blog Big black dogs. Head on over there to see what the other bakers in this group did with this dough.
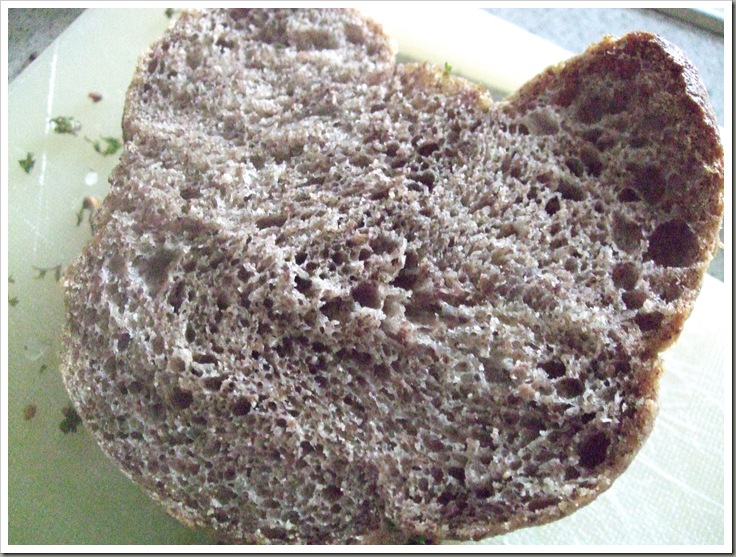
 Finally a master recipe bread again…9 HBin5 – Hearty Whole Wheat Sandwich Loaf
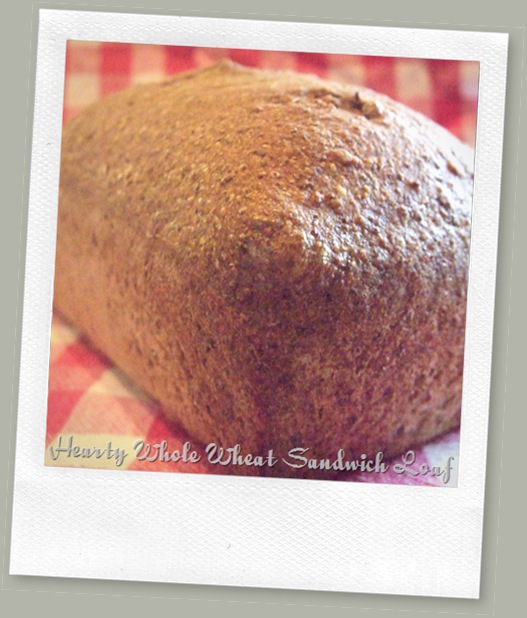
Time is of an essence as we close up shop here in Germany so this was just perfect.
You can find the recipe for the master recipe here in this Mother Earth News article.
All really great bread starts with fresh ingredients. What could be fresher than grinding your own flour. That is how I usually start any baked goods with whole wheat.
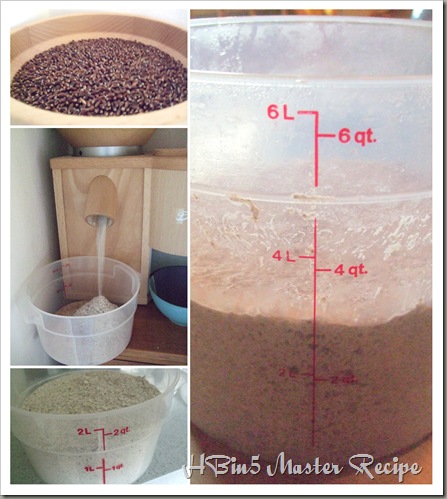
May 15th Bread Braid
1 full Master Recipe
Page 62-63 1 loaf of hearty Whole Wheat Sandwich Loaf
 Quick and easy! One little problem arose and that is the fact that I need a new lame (bread scoring tool). Mine was not sharp enough and tore my bread. Did not matter in the end because it’s tasty and that’s what counts!
This post will be linked to Michelle’s blog Big Black Dogs where you can read up on the results of my fellow bakers who attempt to bake through the Healthy Bread in 5 Minutes book.
 Ginger Scones with Almond Toppings
With the candied ginger taken care off I skipped to the kitchen to get bakin’ on another The Modern Baker quick bread recipe.
This recipe too did not fail my expectations. Not as gingery or sweet as one might think but very good.
I used 5 oz. of candied ginger and though they where quite spicy when eaten on their own they where not so in those scones. It’s a pleasure to bite into the scones and hit a piece of very soft ginger and have that aroma fill your mouth. Yum, is what sums it up.
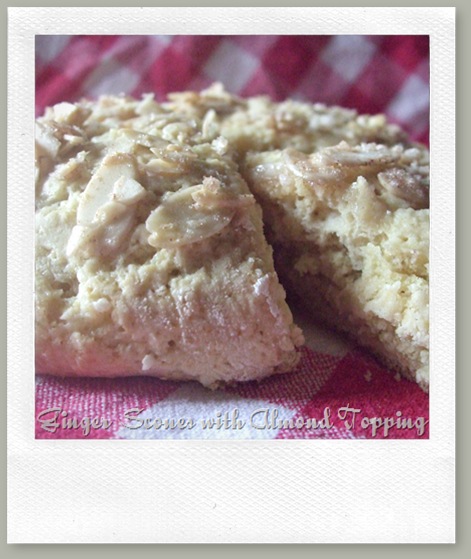
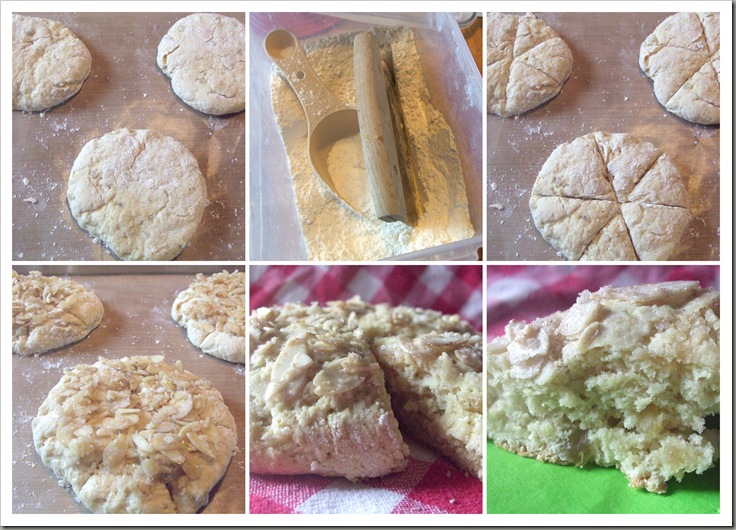
Like with all of Malgieri’s quick bread recipes these came together quickly. I really enjoy using my food processor for those types of recipes. All you do is mix your dry ingredients. Add your cold butter and pulse until it’s coarse (sandy like). Than you add your liquid and pulse until the dough combines and no more. That’s it, really simple and easy. All you have to do now is dump it all onto your baking surface (I have a big wooden board) and shape the scones. It takes no more than 15 minutes if at all. The danger is that you are done before your oven is preheated ;).
RECIPE:
I was able to find the recipe online here.
If you don’t have the book head on over to "Baking for neighbors" and make those scones today. Right after taking your first bite order your copy at Amazon or wherever you like to get your books from because you will be wanting more.
I can not see how you would be disappointed with this book.
See you in the Kitch’n soon!

 Candied Ginger
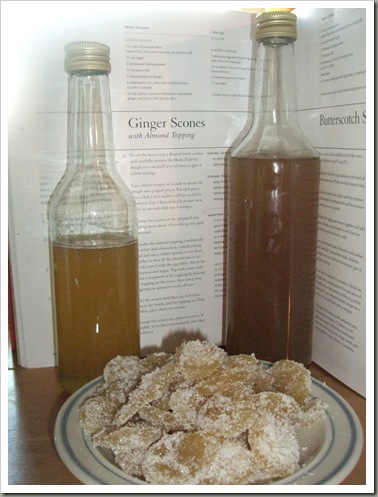
My quest to bake Ginger Scones from the Modern Baker had me looking for candied Ginger. Had my husband looking to be exact. That was a week ago. He came up empty handed because neither the commissary nor the local grocery store he went to carried it.
Today I thought about what I would bake this week and those scones made the list. Having made candied orange peel years back I knew it could not be all that hard to make candied ginger myself.
I Googled it and came up with David Lebovitz's take on making candied ginger. It’s basically a simple syrup.
Off I went to the store to get some ginger. Though candied ginger might be a problem to get in some stores fresh ginger is hardly ever not available. I love how my local “Edeka” Grocery store displays their veggies especially things like ginger. Not just are they in pretty wicker baskets but they are stored out of moistures way.
I have seen ginger under the mister to many times in the USA and often found them moldy right there in the store.
Not here in Germany. No mister = no mold! I never keep ginger in the fridge either. I keep it in a hanging wire basket in my dark pantry it will keep for weeks.
Come to find out that Edeka does carry candied ginger but I was on a mission to make my own and the price only helped to bring that mission home.
1000grams (1kilo) cost Euro 4,90 fresh where 100grams of candied ginger cost a whopping Euro 2,29. That means I can make 5 times my own for the cost of 1 box of that candied ginger. That is hefty I would say.
 Turns out making candied ginger is not just very easy to make it is so much better than any candied ginger I have ever eaten purchased from a store. It’s spicy and sweet and oh so good. I will make my own from now on, that’s for sure.
I bought a piece of root just a little over 300grams. I reduced the recipe to that amount and went to work.
David suggests to use the back of a spoon to peel the ginger. I find that using my veggie peeler (the one that peels very thinly) works just fine. It took me less than 5 minutes to peel and cut up that ginger.
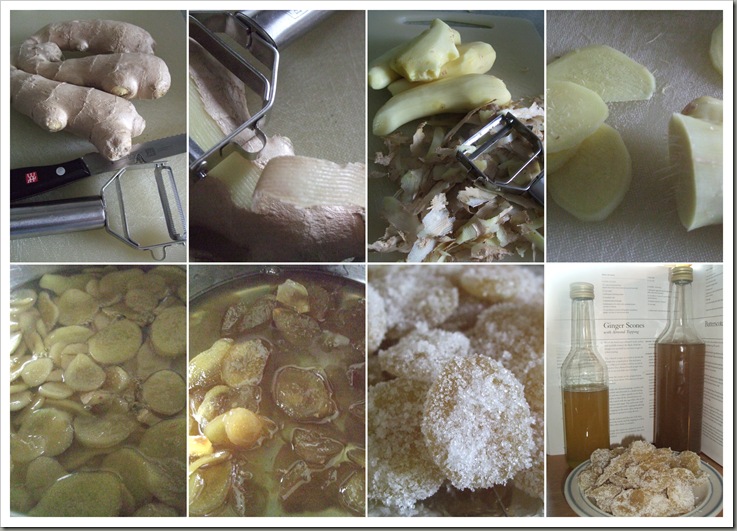 I followed the steps of simmering the ginger twice in just plain water but instead of throwing the water away I kept it. It’s allergy season and ginger is great for scratchy throats. I have been drinking ginger tea during winter for years whenever my throat hurts. It’s just as great in the spring. Simply sweeten it to your liking or add some of the leftover ginger syrup.
Next time I will reduce the cooking to one time but I will cook it for about 30 minutes. The cooking helps to soften the fiber. David explains that sugar has the tendency to harden the fiber and since ginger is pretty fibrous we don’t want that to happen.
The final procedure included cooking the drained ginger in a sugar solution. To reduce that solution to a thin honey like consistency it took about an hour. By that time the ginger was just right. I left it in the syrup for a while longer after turning of the stove. Drained it and a little while later sugared them. OMG, this is sooo good, I can’t stop eating it.
If you have never made candied ginger before I suggest you put ginger on your next shopping list and give it a try especially if you are planning on making the Ginger Scones from “The Modern Baker” book. You will hear about those tomorrow.
PS: don’t throw the syrup solution away. This can be used in all sorts of ways. For instance as a sort of ginger ale (use 1/3 of syrup for every 3 parts of fizzy water).
Category
- Bread (1)
- Bread Pudding (1)
- Bundt Cake (1)
- Cake (1)
- Canning (2)
- Cheese (5)
- crackers (2)
- Easter (1)
- Flatbreads / Pizza (1)
- HBin5-No Knead (18)
- Make your own (4)
- Mellow Bakers (1)
- Pasta (2)
- Pie (3)
- Quick Breads (5)
- Rolls and such (1)
- Rye (1)
- Sandwich Bread (1)
- Schwarzbrot (1)
- Sheet cake (3)
- Sheet cake w/yeast (2)
- snacks (1)
- Sourdough (2)
- Sweet breads (1)
- The Modern Baker (11)
- Yogurt (2)


